
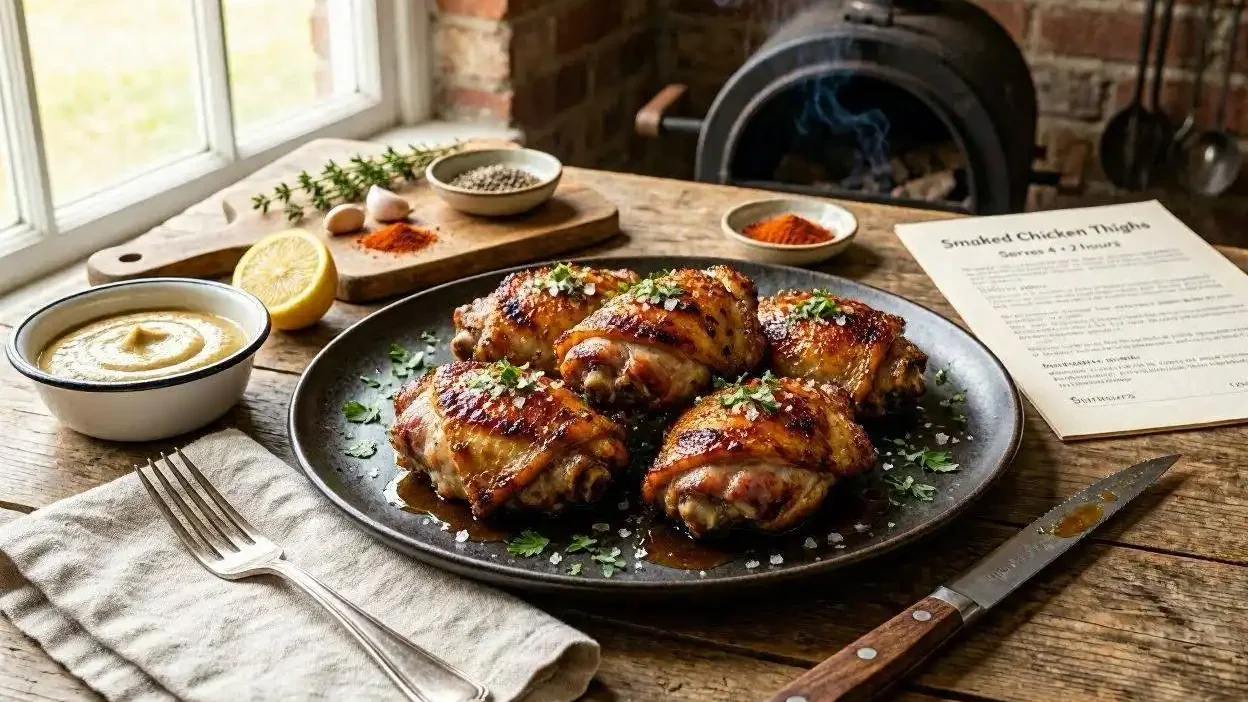
If you’ve ever pulled chicken thighs off a smoker and wondered why yours look matte and dull while the ones on your favorite BBQ Instagram account look like they’ve been dipped in candy, you’re not alone. The secret isn’t a fancier smoker or a pricier cut of meat — it’s technique. This smoked chicken thighs recipe walks you through exactly how pitmasters get that deep-mahogany, lacquered shine on bone-in and boneless thighs alike, and it comes down to one simple move: thinning your sauce and applying it in stages during the final 15 minutes of cook time.
Chicken thighs are the most forgiving cut on the smoker. Unlike lean chicken breast, thighs are packed with connective tissue and fat that render slowly, keeping the meat moist even if you leave it on a few extra minutes. That built-in insurance policy makes them the perfect canvas for building layers of smoke flavor and a sticky, glossy glaze that clings to every bite. Whether you’re running a pellet grill, an offset smoker, or a kettle charcoal setup, this guide covers the full process — from brine to bark to that final glassy sheen.
Why Chicken Thighs Are the Best Cut for Smoking
Before we get into the glaze, let’s talk about why thighs outperform other cuts when it comes to low-and-slow cooking. Chicken breast dries out fast because it’s nearly fat-free. Thighs, on the other hand, sit at a higher fat percentage and contain more collagen, which breaks down into gelatin over time and self-bastes the meat from the inside. This is exactly why a chicken thigh smoker recipe is so much more forgiving for beginners than trying to nail a perfect smoked breast.
There’s also more surface area relative to the bone on bone-in, skin-on thighs, which means more room for smoke penetration and bark development. If you prefer a leaner option or want faster cook times, boneless chicken thighs on Traeger or any other pellet smoker work beautifully too — they just need a slightly shorter cook and closer attention near the end, since there’s no bone to insulate the meat.
Equipment and Ingredients You’ll Need
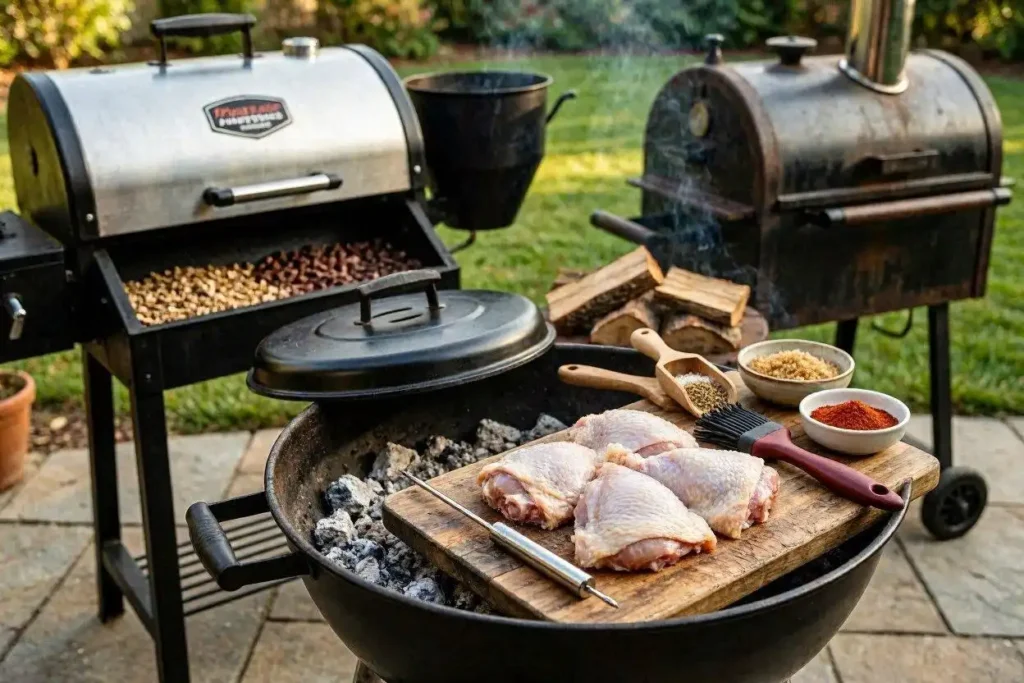
You don’t need a professional rig to pull this off. Here’s what works across most setups:
- A pellet grill (Traeger, Pit Boss, or similar), offset smoker, or charcoal kettle with indirect heat setup
- A reliable instant-read meat thermometer
- A basting brush or silicone mop
- Wood pellets or chunks: hickory, apple, cherry, or a blend
- 2–3 lbs bone-in, skin-on chicken thighs (or leg quarters/boneless thighs)
- Dry rub: brown sugar, smoked paprika, garlic powder, onion powder, kosher salt, black pepper, cayenne (optional)
- BBQ sauce of choice (store-bought or homemade)
- Apple cider vinegar or apple juice, for thinning the glaze
If you’re working with charcoal BBQ chicken thighs, you’ll want a two-zone fire — coals banked to one side, chicken on the cooler indirect side — so you can control heat without flare-ups from rendering fat.
Step 1: Prep and Season the Thighs
Pat the chicken thighs dry with paper towels. This matters more than people think — excess moisture on the skin steams instead of crisps, and that’s the enemy of a good bark. If you have time, leave the thighs uncovered in the fridge for an hour or overnight; this dries the skin further and helps it render into something closer to crackling once smoked.
Apply your dry rub generously, working it under the skin as well as on top. A simple blend of brown sugar, smoked paprika, garlic powder, onion powder, salt, and pepper gives you a rub that caramelizes beautifully and provides the foundation your glaze will stick to later. Let the seasoned thighs rest at room temperature for 20–30 minutes before they go on the smoker — this promotes even cooking.
Step 2: Set Up Your Smoker
Preheat your smoker to 250°F, which is the sweet spot for most pellet grill chicken thighs recipes — hot enough to render fat and crisp skin, low enough to build real smoke flavor. Add your wood of choice; fruitwoods like apple and cherry pair especially well with the sweetness of a BBQ glaze, while hickory brings a bolder, more traditional backbone.
If you’re smoking smoked chicken leg quarters instead of individual thighs, expect a longer cook time due to the added bone and mass — plan for closer to 90–120 minutes depending on size.
Step 3: Smoke Low and Slow
Place the thighs skin-side up on the grate, leaving space between each piece for even airflow. Close the lid and resist the urge to open it repeatedly — every peek lets heat escape and adds cook time. At 250°F, bone-in thighs typically take 60–90 minutes to reach a safe internal temperature, while boneless thighs cook faster, usually in the 45–60 minute range.
Use your thermometer, not the clock, as your real guide. Chicken thighs are safe to eat at 165°F, but many pitmasters push them to 175–185°F internal, since the extra collagen breakdown at higher temps makes the meat noticeably more tender. This is one of the biggest differences between chicken thighs and chicken breast — thighs actually improve with a little extra time on the heat, where breast meat dries out.
Step 4: The Glaze — Where the Glossy Finish Happens
This is the step most home cooks get wrong, and it’s the whole reason this smoked chicken thighs recipe exists. A glossy, lacquered BBQ finish doesn’t come from dumping thick sauce straight from the bottle onto the chicken in one pass. Straight-from-the-jar sauce is too viscous — it sits on top of the meat, burns in spots, and never develops that wet, mirror-like shine you see on competition-style barbecue.
The Thinning Technique
To get a true glaze consistency, whisk your BBQ sauce with a splash of apple cider vinegar, apple juice, or even a little chicken stock — start with about 2 tablespoons of liquid per cup of sauce and adjust until the sauce coats the back of a spoon but drips off slowly rather than clinging in a thick layer. This thinner consistency is what allows the sauce to soak slightly into the bark, then reduce and tighten back up on the grill instead of just sitting on the surface.
Layering in the Final 15 Minutes
Once your thighs hit around 155–160°F internal (about 15 minutes from being fully done), start the glazing process:
- First coat: Brush a thin, even layer of the thinned sauce over each thigh. Close the lid and let it set for 4–5 minutes.
- Second coat: Apply another thin layer. The sugars in the sauce will begin to caramelize against the heat, building the first real layer of shine.
- Third coat: Apply a final layer during the last 5 minutes, then close the lid one more time to let it tack up.
This multi-layer approach is the actual mechanism behind the glossy look — each thin coat has time to set and caramelize before the next goes on, building translucent layers rather than one gloppy, unevenly cooked coat. It’s the same principle behind lacquered Chinese BBQ meats: thin sauce, repeated applications, short bursts of heat between each.
Pull the thighs once they hit your target internal temperature (165°F minimum, 175–185°F for maximum tenderness) and let them rest for 5–10 minutes tented loosely with foil. Resting lets the glaze finish setting into that glassy, sticky sheen instead of sliding off the moment you touch the meat.
Grilling and Charcoal Variations
If you’re working over direct heat rather than a smoker — say, finishing on a charcoal grill after a reverse sear, or answering the common question of how long to grill bone-in chicken thighs — the same layering principle applies, just compressed into a shorter window. Move the thighs to indirect heat, apply your thinned glaze in the same three light coats over 10–12 minutes, and watch closely since direct grill heat caramelizes sugar much faster than a smoker’s ambient heat. Bone-in thighs on a hot grill (around 375–400°F) typically need 30–40 minutes total, flipping occasionally, with the glaze going on only in that final stretch.
For a more traditional barbecue chicken thighs approach using an offset smoker, the wood smoke itself does more of the flavor work upfront, so your glaze can lean simpler — even a two-ingredient mix of sauce and vinegar will pick up plenty of complexity from hours of smoke exposure.
Common Mistakes That Kill the Glaze
- Glazing too early. Sauce applied at the start of the cook will almost always burn before the chicken finishes, since most BBQ sauces contain sugar that scorches well before meat reaches safe temperatures.
- Using sauce straight from the bottle. Too thick, and it won’t build those thin, stackable layers that create shine.
- Only one coat. A single thick layer looks heavy and matte, not glossy. Multiple thin coats are non-negotiable for the lacquered look.
- Skipping the rest. Cutting into the chicken immediately after the final glaze coat means the sauce hasn’t had time to set, so it slides right off.
- Wrong sugar-to-acid ratio. If your glaze tastes flat or one-note, add a touch more vinegar or a squeeze of citrus — the acidity balances sweetness and helps the glaze reduce properly instead of just melting into liquid.
Serving Suggestions
Smoked chicken thighs with a glossy glaze pair naturally with classic sides: creamy coleslaw, cornbread, baked beans, or a simple cucumber salad to cut through the richness. If you made a larger batch using smoked chicken leg quarters, they hold up well for meal prep — shredded glazed chicken works great in sandwiches, tacos, or tossed into a grain bowl the next day.
If you’re looking for another impressive main course for family dinners or special occasions, be sure to try our Beef Striploin Roast Recipe, which delivers tender, juicy results every time.
Conclusion
Perfect smoked chicken thighs come down to technique, not complicated recipes or expensive gear. By cooking the chicken low and slow, checking the internal temperature, and building the glaze with several thin layers near the end of the cook, you’ll get tender, juicy meat with a rich, glossy BBQ finish every time.
These simple methods work whether you’re using a pellet grill, offset smoker, or charcoal grill, making this recipe easy to recreate in any backyard setup. Once you’ve mastered the process, you can experiment with different rubs, woods, and sauces to make it your own. With a little practice, perfectly glazed smoked chicken thighs will become one of your go-to barbecue favorites.
Frequently Asked Questions
How long to smoke chicken thighs at 300?
At 300°F, bone-in chicken thighs generally take 45–60 minutes to reach a safe internal temperature of 165°F, with many cooks pulling them closer to 175–185°F for extra tenderness. Boneless thighs at this temperature typically finish in 35–45 minutes. Because 300°F is a hotter smoke than the traditional low-and-slow range, keep a closer eye on your glaze timing — start applying sauce a little earlier in the last 10–12 minutes rather than the full 15, since sugars caramelize faster at higher heat.
How long to smoke chicken thighs at 180?
At 180°F, you’re in true low-and-slow territory, and bone-in thighs can take anywhere from 2.5 to 3.5 hours to reach a safe internal temperature. This lower setting is popular for maximizing smoke flavor and rendering fat extremely slowly, but it does increase the risk of rubbery skin since the fat under the skin doesn’t render as aggressively as it does at higher temperatures. If you’re smoking at 180°F, consider finishing with a quick blast of higher heat (or a few minutes on a hot grill) at the end to crisp the skin before glazing.
How long to smoke chicken thighs at 250?
250°F is the most commonly recommended temperature for a chicken thigh smoker recipe, and it’s the temperature used throughout this guide. Bone-in thighs typically take 60–90 minutes, while boneless thighs take 45–60 minutes. This range strikes the best balance between rendering skin properly, developing bark, and keeping the meat moist — which is exactly why most Traeger chicken thighs recipes default to this setting.
Final Thoughts
Getting a glossy, sticky BBQ glaze on smoked chicken thighs isn’t about a secret sauce recipe — it’s about technique. Thin your sauce, apply it in thin layers during the final 15 minutes, and give the glaze time to set between coats and again after the chicken comes off the heat. Combine that with thighs’ natural forgiveness for slightly longer cook times, and you’ve got a foolproof formula that works whether you’re running a high-end pellet grill or a basic charcoal kettle in the backyard. Once you nail the layering technique, you’ll never go back to a single, thick coat of sauce again.