I. Introduction: The “Goldilocks” of Beef Cuts
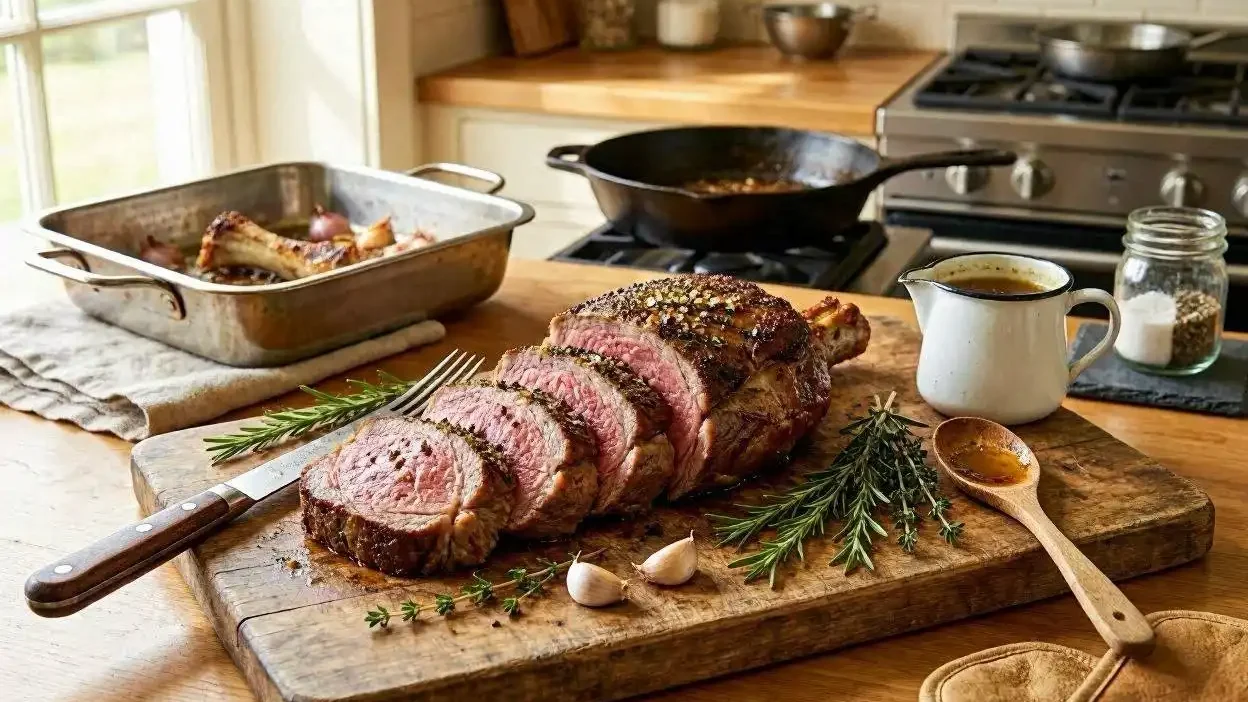
If you’ve ever stood at a butcher counter torn between the fatty richness of a ribeye and the buttery leanness of a fillet, this beef striploin roast recipe is the answer you’ve been looking for. The striploin sits right in the middle — beefy enough to satisfy serious carnivores, tender enough to impress at a holiday table, and forgiving enough for home cooks who want restaurant-quality results without restaurant-level stress.
This cut wears many names depending on where you shop and how it’s butchered. You’ll see it labeled New York Strip, Top Loin, Kansas City Strip, Ambassador Steak, or even Delmonico in some regions. When left whole instead of sliced into individual steaks, it becomes the impressive centerpiece known as a whole strip loin roast — sometimes called a shell steak roast because the cut comes from the “shell” portion of the short loin.
In this guide, we’re combining butcher-grade sourcing advice with three professional cooking methods, precise temperature charts, and flavor-building techniques so you know exactly how to cook a New York strip roast from start to finish — no guesswork required.
II. Sourcing: How to Pick an Award-Winning Roast
Choosing quality beef is only one part of building nutritious meals. Our guide on Ways to Promote and Maintain Health and Wellbeing Nutrition explains how to create healthier eating habits.
A great beef strip loin roast starts long before it hits your oven — it starts at the meat counter.
Quality Grades
- Prime – The top USDA grade, offering abundant marbling and superior tenderness. Ideal for special occasions.
- Choice – A widely available, high-quality grade with good marbling at a more accessible price point.
- AAA – The Canadian equivalent of USDA Choice, indicating solid marbling and consistent quality.
- Wagyu – Known for extreme marbling and a buttery texture, Wagyu striploin is a luxury option for those wanting an unforgettable meal.
What to Look For
- Marbling: Seek out visible flecks of intramuscular fat running through the meat. This white webbing melts during cooking, basting the roast from within and delivering flavor and tenderness.
- The Fat Cap: A good striploin roast should have roughly a half-inch fat cap left intact. This layer protects the meat from drying out and self-bastes the roast as it renders.
- Color: Look for deep, cherry-red meat paired with creamy white (not yellow) fat — a sign of quality and freshness.
III. Professional Preparation (The Secret Steps)
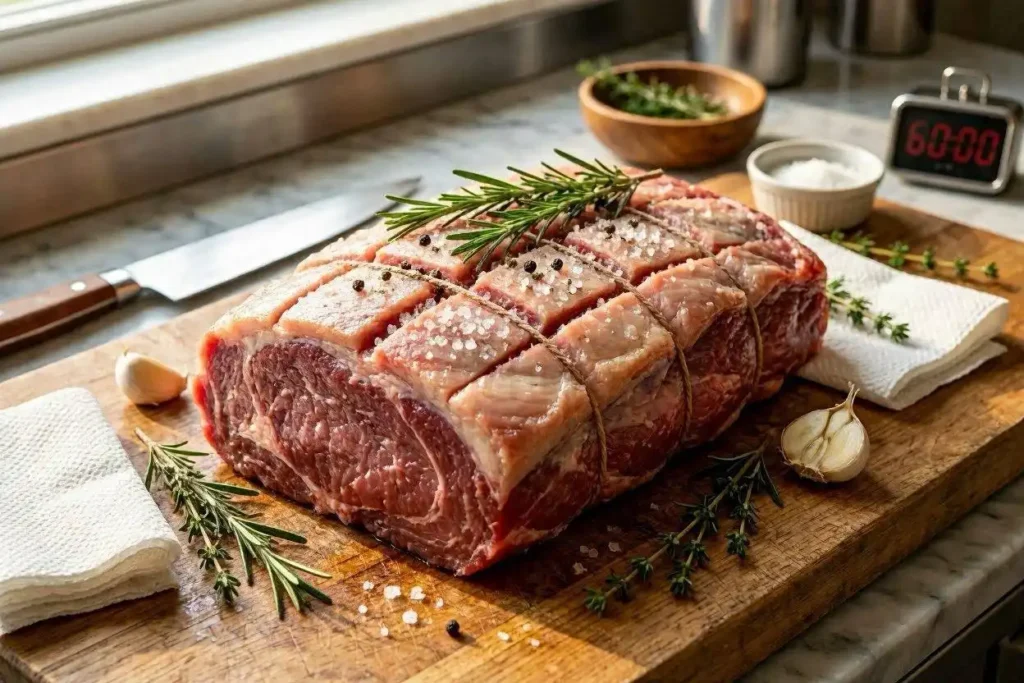
These are the steps that separate a good roast from an unforgettable one.
The 60-Minute Rule: Pull your roast from the fridge about an hour before cooking. Meat that starts at room temperature cooks more evenly, avoiding the dreaded gray band of overcooked meat near the surface.
The “Pat Dry” Technique: Before seasoning, pat the roast completely dry with paper towels. Surface moisture steams the meat instead of browning it, and a dry surface is essential for the Maillard reaction — the chemical browning process responsible for that deep, savory crust.
Trussing: Tie the roast with butcher’s twine at even intervals. This creates a uniform shape, so it cooks consistently from end to end rather than cooking unevenly at thinner sections.
Advanced Flavor — Dry Brining: Generously salt the roast 12 to 48 hours before cooking and refrigerate it uncovered. The salt draws out moisture initially, then that moisture (now seasoned) is reabsorbed into the meat, deeply flavoring it and improving texture.
Scoring the Fat: Use a sharp knife to make shallow crosshatch cuts across the fat cap. This allows seasoning to penetrate deeper and helps the fat render more efficiently during roasting.
IV. The Master Methods: Choose Your Technique
There’s no single “correct” way to cook this roast — the right method depends on your equipment, timeline, and how much control you want over the outcome.
Method A: The Reverse Sear (The Chef’s Choice)
Roast low and slow at 225°F until the roast is about 10-15°F from your target temperature, then blast it in a 500°F oven (or hot skillet) for a few minutes per side. This method produces an edge-to-edge pink center with almost no gray “overcooked” ring, topped with a deeply caramelized crust.
Method B: The Sous Vide (The Foolproof Way)
Seal the roast in a vacuum bag and cook it in a precisely controlled water bath — 132°F is ideal for medium-rare. Finish with a fast, high-heat sear in a cast-iron pan to build the crust. This method offers unmatched consistency since the meat literally cannot overcook past the water temperature.
Method C: The Traditional High-to-Low Roast
Start the oven at 400–475°F for 15-20 minutes to develop a strong crust, then reduce the temperature to 325°F for the remainder of cooking. This classic technique is simple, requires no special equipment, and delivers a traditional roast-dinner result.
Method D: The Rotisserie (The Showstopper)
Mount the roast on a rotisserie spit and cook over high, constant heat. The continuous rotation self-bastes the meat in its own rendering fat, producing an evenly caramelized crust all the way around — a true showstopper for outdoor entertaining.
V. Critical Data: Internal Temperature & Timing Chart
Carryover cooking means your roast will continue rising in temperature after it leaves the heat source, so always pull it before it hits your final target.
| Doneness | Pull Temperature | Final Resting Temperature |
|---|---|---|
| Rare | 115°F | 120°F–125°F |
| Medium-Rare | 125°F–130°F | 130°F–135°F |
| Medium | 135°F–140°F | 140°F–145°F |
Pro Tip: Carryover cooking typically adds 2–5°F after the roast is removed from heat, depending on its size and the cooking method used. Larger roasts and higher cooking temperatures cause more carryover, so always use an instant-read meat thermometer rather than relying on time alone.
VI. Flavor Profiles: Rubs, Butters, and Sauces
The Classic Garlic-Herb Rub
Combine fresh or dried thyme, rosemary, garlic powder, onion powder, coarse salt, and cracked black pepper. This simple blend enhances the natural beefiness of the roast without overpowering it.
The Gourmet Finish: Bone Marrow Butter
Roast beef marrow bones until soft, scoop out the marrow, and blend it with softened butter, fresh herbs, and a pinch of salt. A spoonful melted over each slice adds an intense umami richness that elevates the entire dish.
Signature Sauces
- Quick Balsamic Glaze: Whisk maple syrup, Dijon mustard, and ketchup together, then reduce slightly for a tangy-sweet finish.
- Horseradish Cream: Combine sour cream, mayonnaise, prepared horseradish, and fresh chives for a classic, cooling contrast to the rich meat.
- Mushroom Bordelaise: A red-wine reduction sauce built on sautéed mushrooms and beef stock, delivering deep, savory complexity.
VII. The Crucial Final Step: Resting
Skipping this step is the single most common mistake home cooks make. When meat cooks, its muscle fibers tighten and push juices toward the center. Resting allows those juices to redistribute evenly throughout the roast. Slice too early, and you’ll watch all that flavorful liquid pool out onto the cutting board, leaving you with dry, disappointing meat.
Timing:
- Smaller roasts: rest for 15–20 minutes, loosely tented with foil.
- Large, professionally reverse-seared roasts: rest for 30–75 minutes, since bigger cuts hold heat longer and need more time for juices to settle.
VIII. Perfectly Paired Sides
- Crispy Roasted Cauliflower: Toss florets with Italian breadcrumbs, garlic, and olive oil, then roast until golden and crunchy.
- The British Classic: Yorkshire Puddings: Use the flavorful pan drippings from your roast to make these puffy, savory classics — a traditional pairing for any strip loin dinner.
- Hasselback Potatoes: Thinly sliced (but not all the way through) and roasted until crisp-edged and tender, these make a visually stunning addition to any holiday table.
IX. Storage, Reheating, and Leftover Hacks
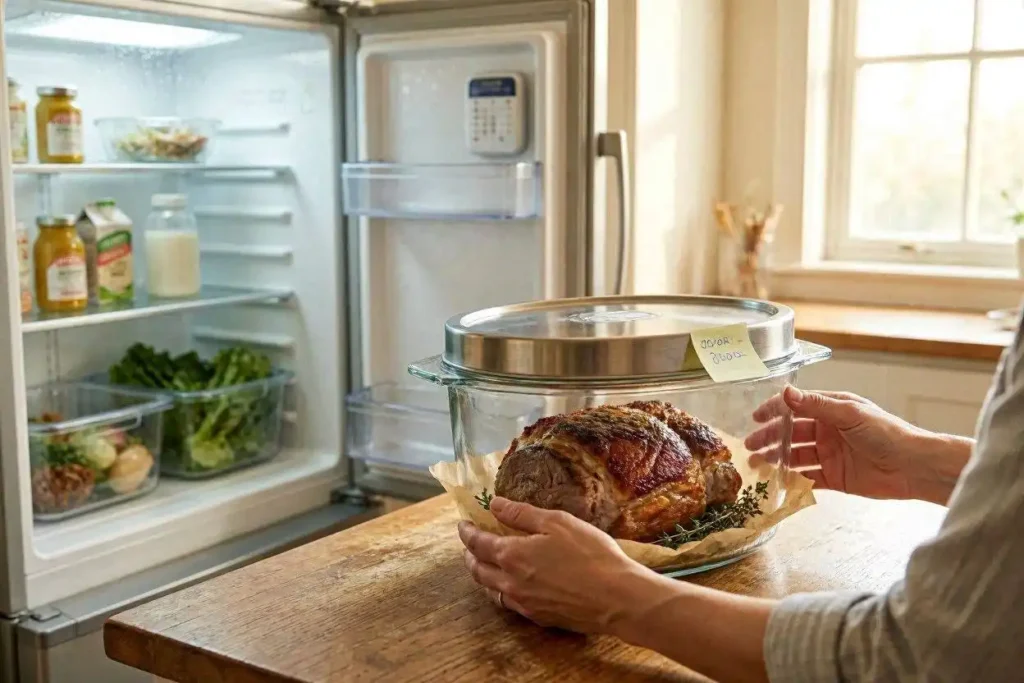
Store leftover roast in an airtight container in the refrigerator for up to four days.
Reheating Tip: Never microwave leftover roast — it toughens the meat and destroys the texture. Instead, warm slices gently in a splash of beef stock in a covered oven-safe dish at 400°F for about 12 minutes. The stock keeps the meat moist while it reheats.
- Roast beef sandwiches piled high with horseradish sauce
- Beef and egg breakfast skillets
- Loaded baked potatoes topped with sliced roast, cheese, and chives
FAQ: Expert Answers to Common Questions
Can I cook my steak from frozen? Yes — with sous vide cooking, you can go straight from freezer to water bath. Simply add about one extra hour to your total cook time to account for the frozen starting point.
Should I cover the meat with foil? Only during resting, or if the exterior is browning faster than the interior is cooking. Covering the roast throughout cooking traps steam and prevents the crust from forming properly.
Why does my meat look grey/well-done immediately after slicing? This comes down to myoglobin, the protein responsible for meat’s red color. Freshly cut, myoglobin hasn’t yet been exposed to oxygen, so it can appear dull or grayish. Give it a few seconds of air exposure, and the vibrant red color typically returns — a completely normal part of the process, not a sign of overcooking.
Whether you choose the reverse sear for maximum control, sous vide for foolproof precision, or a traditional high-to-low roast for simplicity, this beef striploin roast recipe framework will help you produce a tender, flavorful centerpiece every time. Master the sourcing, respect the resting time, and pick the method that fits your kitchen — and you’ll never look at a strip loin roast the same way again.